Windows Subsystem for Linux
There are some instances when you need a Windows instance, but you don't need a full VM to do it. You can use a Docker Container for Windows XP – Windows 11 or one of the Windows Severs. Yes, this is possible, and it's a usable system.


How to do it? Set up Docker with Dockge in a VM and create the files: compose.yaml and .env and a macvlan for making it a full member of your LAN.
Then start the container and the installation process will run fully automatic. Once you have the desktop in the browser on http://<IP>:8006 (VM IP or the local IP of Windows) your Windows installation is ready to be configured and updated (if still permitted) and then, if you like/need to, activate it.
Features
- ISO downloader is included
- Automatic installation
- KVM acceleration is needed
- Web-based viewer, noVNC or RDP
- Local network IP for the Windows instance
We need KVM acceleration
- 👉 You need to use the CPU type
Host - ✋ you can't use a QEMU CPU type
- To get a virtual CPU using KVM acceleration, ensure that your host's CPU supports virtualization (VT-x for Intel or AMD-V for AMD) and that virtualization is enabled in the BIOS.
Then, you can create a virtual machine and configure it to use KVM by selecting the appropriate CPU type, such as "host" or "kvm64."
Other Notes
By default, you can access the Windows container with noVNC, but for better performance use RDP. And for a private IP, you need to set up and use a macvlan
The VM
Set up a VM
As windows needs a 64 G disk and docker also needs some, you need to make the disk big. Remember, this isn't a server, it's a super bloated desktop. Tested with 2 cores, 8 G RAM and 70 G disk. It will run, but it's slow. Give it more, much more. For the VM, I used Ubuntu 24.04 LTS mini. Using the whole disk, no LVM.
Update the VM
sudo apt update && sudo apt upgrade -yInstall Docker-CE
Download the GPG key
sudo wget -qO /etc/apt/keyrings/docker.asc https://download.docker.com/linux/ubuntu/gpgDownload GPG key and add to a specified directory:
Add the repository
echo "deb [arch=amd64 signed-by=/etc/apt/keyrings/docker.asc] https://download.docker.com/linux/ubuntu $(lsb_release -sc) stable" | sudo tee /etc/apt/sources.list.d/docker.listAdd the Docker CE repository:
Install Docker-CE
sudo apt updatesudo apt install -y docker-ceInstalling Docker installs the Docker service daemon, but also: containerd.io, docker-buildx-plugin, docker-ce-cli, docker-ce-rootless-extras, docker-compose-plugin.
Option
Add current user to docker group
- By default, root and user with sudo privileges can use Docker.
- During installation, a group
dockeris created. So, if you want to allow using Docker for non-root users, you can add the user to thedockergroup. - This will elevate a normal user's privileges. Remember the security aspect of doing it.
sudo usermod -a -G docker $USERIf you understand and accept the security issues, you might like to do this
Initial Testing
To make changes to take effect, logout and login to your machine. After you're reconnected, check Docker version:
docker versionWe can use the following command to determine if Docker service is running:
sudo service docker statusWe can also stop, start and restart the Docker service:
sudo service docker stopsudo service docker startsudo service docker restartTesting Docker
To test that Docker successfully installed, you can run the hello-world image.
docker run hello-worldThe command downloads a test image, runs it in a container, prints a message, and exits.
Installing Docker installs the Docker service daemon, but also: containerd.io, docker-buildx-plugin, docker-ce-cli, docker-ce-rootless-extras, docker-compose-plugin.
Check if Docker is running sudo docker ps.
Add Dockge
Run as a normal user. Add the working directory and go to it.
mkdir -p /home/$USER/docker/ && cd /home/$USER/dockerCreate Dockge
sudo docker run -d -p 5001:5001 --name Dockge --restart=unless-stopped -v /var/run/docker.sock:/var/run/docker.sock -v /home/$USER/docker/dockge/data:/app/data -v /home/$USER/docker/stacks:/home/$USER/docker/stacks -e DOCKGE_STACKS_DIR=/home/$USER/docker/stacks louislam/dockge:latestservices:
dockge:
ports:
- 5001:5001
container_name: Dockge
restart: unless-stopped
volumes:
- /var/run/docker.sock:/var/run/docker.sock
- /home/$USER/docker/dockge/data:/app/data
- /home/$USER/docker/stacks:/home/$USER/docker/stacks
environment:
- DOCKGE_STACKS_DIR=/home/$USER/docker/stacks
image: louislam/dockge:latest
networks: {}Check if it's running sudo docker ps.
Connect to Dockge
In your browser, connect to the VM using http://<VM IP>:5001 and set it up.
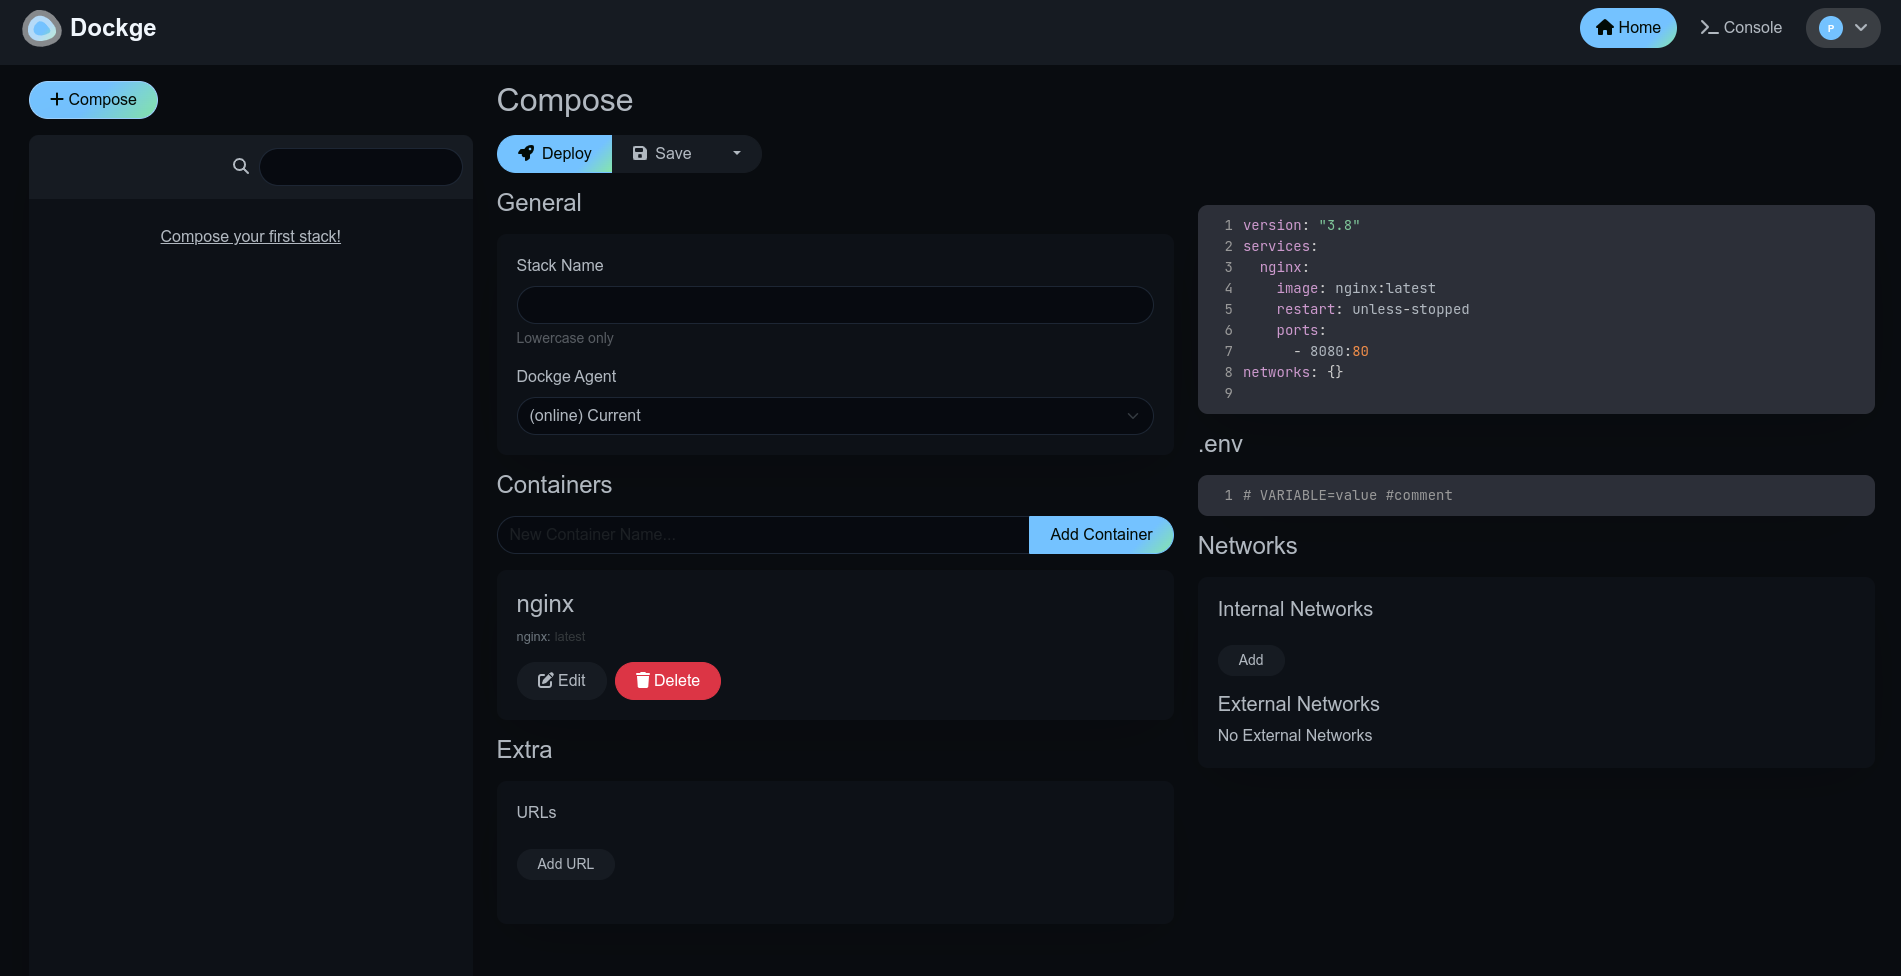
Now, you can start to create the stack.
Windows using Docker
Versions that are supported
Versions supported can be found below. Use the Code from below to request a version,
- Enter it in your compose.yaml -file in the
environmentsection asVERSION: "xp". - For a generic compose.yaml, you can use
MANUAL: Yin theenvironmentsection.
You then enter the appropriate code at run time.
| Code | Windows 11 versions | Size |
|---|---|---|
| 11 | Windows 11 Pro | 5.4 GB |
| 11l | Windows 11 LTSC | 4.7 GB |
| 11e | Windows 11 Enterprise | 4.0 GB |
| Code | Windows 10 versions | Size |
|---|---|---|
| 10 | Windows 10 Pro | 5.7 GB |
| 10l | Windows 10 LTSC | 4.6 GB |
| 10e | Windows 10 Enterprise | 5.2 GB |
| Code | Older Windows versions | Size |
|---|---|---|
| 8e | Windows 8.1 Enterprise | 3.7 GB |
| 7u | Windows 7 Ultimate | 3.1 GB |
| vu | Windows Vista Ultimate | 3.0 GB |
| xp | Windows XP Professional | 0.6 GB |
| 2k | Windows 2000 Professional | 0.4 GB |
| Code | Windows Servers | |
|---|---|---|
| 2025 | Windows Server 2025 | 5.6 GB |
| 2022 | Windows Server 2022 | 4.7 GB |
| 2019 | Windows Server 2019 | 5.3 GB |
| 2016 | Windows Server 2016 | 6.5 GB |
| 2012 | Windows Server 2012 | 4.3 GB |
| 2008 | Windows Server 2008 | 3.0 GB |
| 2003 | Windows Server 2003 | 0.6 GB |
The compose.yaml
We will make a Windows machine as a member of your network, you need a macvlan.
services:
  windows:
    image: dockurr/windows
    container_name: windows
    environment:
      #MANUAL: Y
      VERSION: 11
      DHCP: Y
      USERNAME: $USERNAME
      PASSWORD: $PASSWORD
      LANGUAGE: $LANGUAGE
      REGION: $REGION
      KEYBOARD: $KEYBOARD
    devices:
      - /dev/kvm
      - /dev/net/tun
      - /dev/vhost-net
    device_cgroup_rules:
      - 'c *:* rwm'
    cap_add:
      - NET_ADMIN
    ports:
      - 8006:8006
      - 3389:3389/tcp
      - 3389:3389/udp
    volumes:
      - ./windows:/storage
    networks:
      winvlan: null
    restart: unless-stopped
    stop_grace_period: 2m
networks:
  winvlan:
    external: true
Create a MacVLAN Network
docker network create -d macvlan \
    --subnet=192.168.0.0/24 \
    --gateway=192.168.0.1 \
    --ip-range=192.168.0.100/28 \
    -o parent=eth0 winvlan

docker network create -d macvlan --subnet=192.168.0.0/28 --gateway=192.168.0.1 -o parent=ens1 winvlan
Create the .env -file
USERNAME: "boss"
PASSWORD: "A-strong-pA$$W0RD"

## Options ##
LANGUAGE: English
REGION:   "en-US"
KEYBOARD: "en-US"
LANGUAGE: Default is English. Use yours
Other things to Know
How to select the language
By default, the English version of Windows will be downloaded.
You can add the LANGUAGE environment variable directly to your compose.yaml file or use it from the .env -file, in order to specify an alternative language:
environment:
  LANGUAGE: "Spanish"
How to select the keyboard layout
If you want to use a keyboard layout or locale that is not the default for your selected language, you can add KEYBOARD and REGION variables directly to your compose.yaml file or use it from the .env -file, in order to specify an alternative keyboard or locale:
environment:
  REGION: "en-US"
KEYBOARD: "en-US"LANGUAGE, KEYBOARD and REGION ❗ Switch to another version of Windows
By default, Windows 11 Pro will be installed. But you can add the VERSION environment variable to your compose file, in order to specify an alternative Windows version to be downloaded. The preferred way is to create a new VM.
environment:
  VERSION: "11"
You need to delete the whole installation in the /docker/stacks/windows/ directory:
- Go to
cd /docker/stacks/windowsand - Delete the second /directory
sudo -rf windows
What is the IP?
If you use DHCP, check there or click at the >_bash button and type ip a
How can Windows acquire an IP address from your router?
After configuring the container for macvlan, it is possible for Windows to become part of your home network by requesting an IP from your router, just like a real PC.
To enable this mode, in which the container and Windows will have separate IP addresses, add the following lines to your compose file:
environment:
  DHCP: "Y"
devices:
  - /dev/vhost-net
device_cgroup_rules:
  - 'c *:* rwm'
How do I add multiple disks?
To create additional disks (part of the original disk), add to the compose.yaml -file
environment:
  DISK2_SIZE: "32G"
  DISK3_SIZE: "64G"
volumes:
  - ./example2:/storage2
  - ./example3:/storage3
How to pass through a disk?
It is possible to pass-through disk devices or partitions directly by adding them to your compose file in this way:
devices:
  - /dev/sdb:/disk1
  - /dev/sdc1:/disk2
Use /disk1 if you want it to become your main drive (which will be formatted during installation), and use /disk2 and higher to add them as secondary drives (which will stay untouched).
How to pass through a USB device?
To pass through a USB device, first look up its vendor and product ID via the lsusb command, then add them to the compose.yaml -file:
environment:
  ARGUMENTS: "-device usb-host,vendorid=0x1234,productid=0x1234"
devices:
  - /dev/bus/usb
References
The Docker Hub page [1] noVNC [2] FreeRDP [3]
FreeRDP: A Remote Desktop Protocol Implementation. FreeRDP is a free implementation of the Remote Desktop Protocol (RDP), released under the Apache license. Enjoy the freedom of using your software wherever you want, the way you want it, in a world where interoperability can finally liberate your computing experience. homepage, GitHub, Downloads, Wiki ↩︎


