WezTerm – Wez's Terminal
A new, very interesting terminal. It's cross-platform, so it's the same user experience on macOS, Linux Windows 10 and even on FreeBSD. As I spend most of my days on a terminal, I want to optimize and test new ones all the time. I also use Starship.

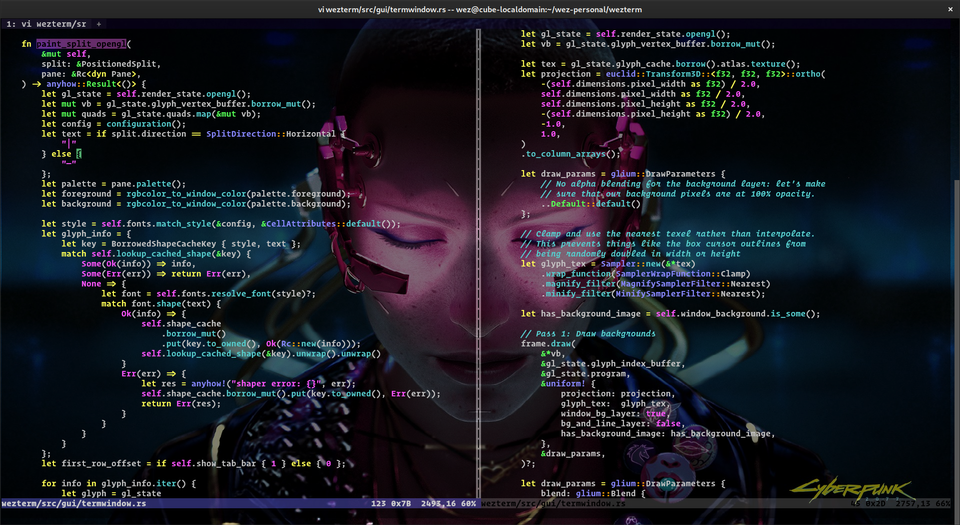
WezTerm – Terminal
A GPU-accelerated cross-platform terminal emulator and multiplexer written by @wez and implemented in Rust. You find docs and guide at: https://wezfurlong.org/wezterm/
Features
- Runs on Linux, macOS, Windows 10 and FreeBSD
- Multiplex terminal panes, tabs and windows on local and remote hosts, with native mouse and scroll back
- Ligatures, Color Emoji and font fallback, with true color and dynamic color schemes
- Hyperlinks
- A full list of features can be found here
Installation
macOS
brew install --cask weztermNightly versions by: brew install --cask wezterm@nightly
Linux
Debian/Ubuntu
You can configure your system to use that APT repo by following these steps:
curl -fsSL https://apt.fury.io/wez/gpg.key | sudo gpg --yes --dearmor -o /usr/share/keyrings/wezterm-fury.gpg
echo 'deb [signed-by=/usr/share/keyrings/wezterm-fury.gpg] https://apt.fury.io/wez/ * *' | sudo tee /etc/apt/sources.list.d/wezterm.list
Update your dependencies:
sudo apt updateNow you can install wezterm:
sudo apt install wezterm
or to install a nightly build:
sudo apt install wezterm-nightly⚠️ The nightly build conflicts with the regular build!
Do not install both – choose one or the other.
Arch Linux
Submitted 2018-10-16 and last update 2024-02-11
Be sure to also install the ttf-nerd-fonts-symbols-mono package!
Extra repository
WezTerm is available in the Extra repo.
AUR repository
The version in the extra repo might be older than the latest version of wezterm. You can use the AUR package instead: https://aur.archlinux.org/packages/wezterm-git/
Set up WezTerm
First, create a new directory in the .config directory and the wezterm.lua file.
mkdir -p .config/wezterm && touch .config/wezterm/wezterm.luaNow edit the file
nano .config/weztem/wezterm.lualocal wezterm = require("wezterm")
config = wezterm.config_builder()
config = {
automatically_reload_config = true,
enable_tab_bar = false, -- no tab-bar
window_close_confirmation = "NeverPrompt", --using it may be a better option
window_decorations = "RESIZE", -- no title-bar but resizing works
default_cursor_style = "BlinkingBar",
color_scheme = "Nord (Gogh)" -- check the documentation for more options
font = wezterm.font("JetBrains Mono", { weight = "Bold" }), -- JetBrains Mono is the default and my favorite
font_size = 12,
  window_padding = {
    left = 3,
    right = 3,
    top = 0,
    bottom = 0,
},
}
return configCheck the documentation for more options
Chang your Font
Check for nerd-fonts by brew search nerd-font, if your favorite is not marked by a ✔check-mark, you can download it by brew install --cask <font name> (brew install --cask font-ubuntu-nerd-font).
List how to install a font: wezterm ls-fonts --list-system | grep <name of font> and you will have the correct syntax.
Now, enter it into your config.
Add padding to the Window
window_padding = {
left = 3,
right = 3,
top = 0,
bottom = 0,Adding a layered background image
The background-function has two layers, one for the image and one gray layer. Read the documentation how to fine tune this function.
I find my backgrounds from https://unsplash.com/s/photos/desert-night.
  background = {
    {
      source = {
        File = "/Users/" .. os.getenv("USER") .. "/.config/wezterm/joel-tasche-7ddX6EU2l7A-unsplash.jpg",
      },
      hsb = {
        hue = 1.0,
        saturation = 1.02,
        brightness = 0.25,
      },
      -- attachment = { Parallax = 0.3 },
      -- width = "100%",
      -- height = "100%",
    },
    {
      source = {
        Color = "#282c35",
      },
      width = "100%",
      height = "100%",
      opacity = 0.55,
    },
  },
On Ubuntu/Debian, use something like
File = "/home/" .. os.getenv("USER") .. "/.config/wezterm/background.jpg",local wezterm = require("wezterm")
local config = {}
if wezterm.config_builder then
config = wezterm.config_builder()
end
config = {
automatically_reload_config = true,
enable_tab_bar = false, -- show no tab-bar
window_close_confirmation = "NeverPrompt", --using it may be a better option
window_decorations = "RESIZE", -- no title-bar but resizing works
default_cursor_style = "BlinkingBar", -- check the documentation for more options
color_scheme = "Nord (Gogh)", -- check the documentation for more options
font_size =12.0,
font = wezterm.font("JetBrains Mono", { weight = "Bold" }),
window_padding = {
left = 3,
right = 3,
top = 0,
bottom = 0,
},
background = {
{
source = {
File = "/Users/" .. os.getenv("USER") .. "/.config/wezterm/joel-tasche-7ddX6EU2l7A-unsplash.jpg",
},
hsb = {
hue = 1.0,
saturation = 1.02,
brightness = 0.25,
},
-- attachment = { Parallax = 0.3 },
-- width = "100%",
-- height = "100%",
},
{
source = {
Color = "#282c35",
},
width = "100%",
height = "100%",
opacity = 0.55,
},
},
}
return configInstall Starship
I use Starship on all my terminals
brew install starshipCreate the configuration -file for Tokyo Night
This preset is inspired by the Tokyo Night VS Code theme.
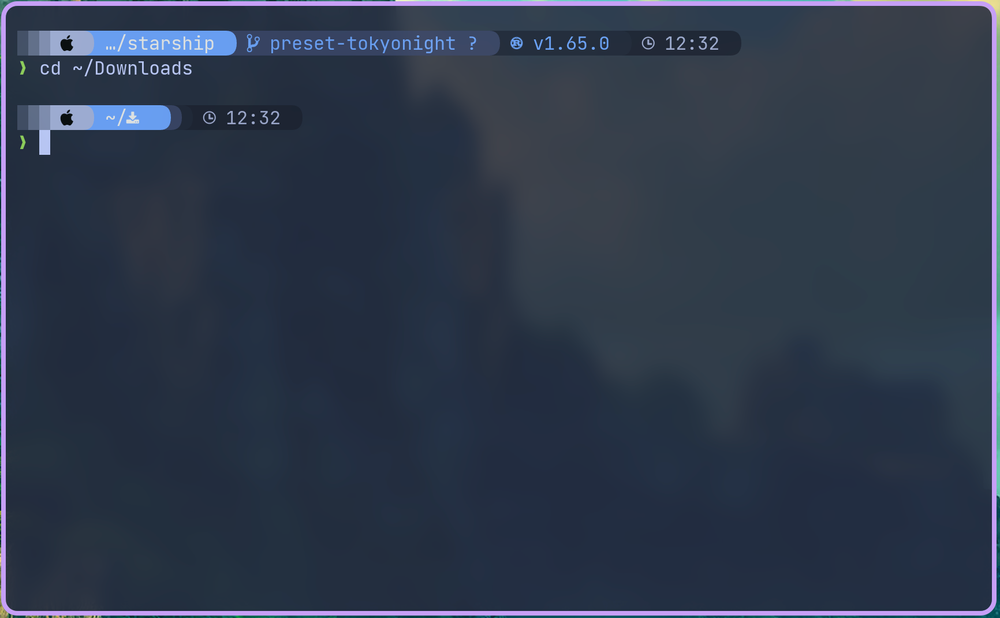
nano ./config/starship.tomlformat = """
[░▒▓](#a3aed2)\
[ ](bg:#a3aed2 fg:#090c0c)\
[](bg:#769ff0 fg:#a3aed2)\
$directory\
[](fg:#769ff0 bg:#394260)\
$git_branch\
$git_status\
[](fg:#394260 bg:#212736)\
$nodejs\
$rust\
$golang\
$php\
[](fg:#212736 bg:#1d2230)\
$lua
$docker_context\
$time\
[ ](fg:#1d2230)\
\n$character"""
[directory]
style = "fg:#e3e5e5 bg:#769ff0"
format = "[ $path ]($style)"
truncation_length = 3
truncation_symbol = "…/"
[directory.substitutions]
"Documents" = " "
"Downloads" = " "
"Music" = " "
"Pictures" = " "
[git_branch]
symbol = ""
style = "bg:#394260"
format = '[[ $symbol $branch ](fg:#769ff0 bg:#394260)]($style)'
[git_status]
style = "bg:#394260"
format = '[[($all_status$ahead_behind )](fg:#769ff0 bg:#394260)]($style)'
[docker_context]
symbol = ' '
style = 'fg:#06969A'
format = '[$symbol]($style) $path'
detect_files = ['docker-compose.yml', 'docker-compose.yaml', 'Dockerfile']
detect_extensions = ['Dockerfile']
[nodejs]
symbol = ""
style = "bg:#212736"
format = '[[ $symbol ($version) ](fg:#769ff0 bg:#212736)]($style)'
[lua]
symbol = ' '
style = "bg:#212736"
format = '[[ $symbol ($version) ](fg:#769ff0 bg:#212736)]($style)'
[rust]
symbol = ""
style = "bg:#212736"
format = '[[ $symbol ($version) ](fg:#769ff0 bg:#212736)]($style)'
[golang]
symbol = ""
style = "bg:#212736"
format = '[[ $symbol ($version) ](fg:#769ff0 bg:#212736)]($style)'
[php]
symbol = ""
style = "bg:#212736"
format = '[[ $symbol ($version) ](fg:#769ff0 bg:#212736)]($style)'
[time]
disabled = false
time_format = "%R" # Hour:Minute Format
style = "bg:#1d2230"
format = '[[ $time ](fg:#a0a9cb bg:#1d2230)]($style)'Tokyo Night configuration file
Add ZSH Features
Autocompletion and syntax highlighting are essential productivity tools.
brew install zsh-syntax-highlighting zsh-autosuggestionsEdit .zshrc and add this:
# Activate syntax highlighting
source $(brew --prefix)/share/zsh-syntax-highlighting/zsh-syntax-highlighting.zsh
#To activate the syntax highlighting, add the following at the end of your .zshrc:
  source /usr/local/share/zsh-syntax-highlighting/zsh-syntax-highlighting.zsh

# Disable underline
(( ${+ZSH_HIGHLIGHT_STYLES} )) || typeset -A ZSH_HIGHLIGHT_STYLES
ZSH_HIGHLIGHT_STYLES[path]=none
ZSH_HIGHLIGHT_STYLES[path_prefix]=none

# Activate autosuggestions
source $(brew --prefix)/share/zsh-autosuggestions/zsh-autosuggestions.zsh
Restart your terminal source .zshrc
Removing iterm2
You need to give wezterm full access to the disk to remove all files.
brew uninstall --force --zap itermReferences
WezTerm [1] Starship [2] Using AUR [3] LUA [4] Nerd Fonts [5]


