pfSense + Cloudflare DDNS
If you do not have a fixed IP, you will need a DDNS.


Prerequisites
You need a Domain, a Cloudflare account and a pfSense (a box or a VM).
Cloudflare settings
Login and go to DNS.
- Add an A record
- Name DDNS or something
- IPv4 address will be for now 1.1.1.1, it will be replaced by pfSense to be your WAN IP.
- Set Proxy status to DNS only. This can be altered by pfSense to Proxy your traffic.
Save and we are ready to create the pfSense token
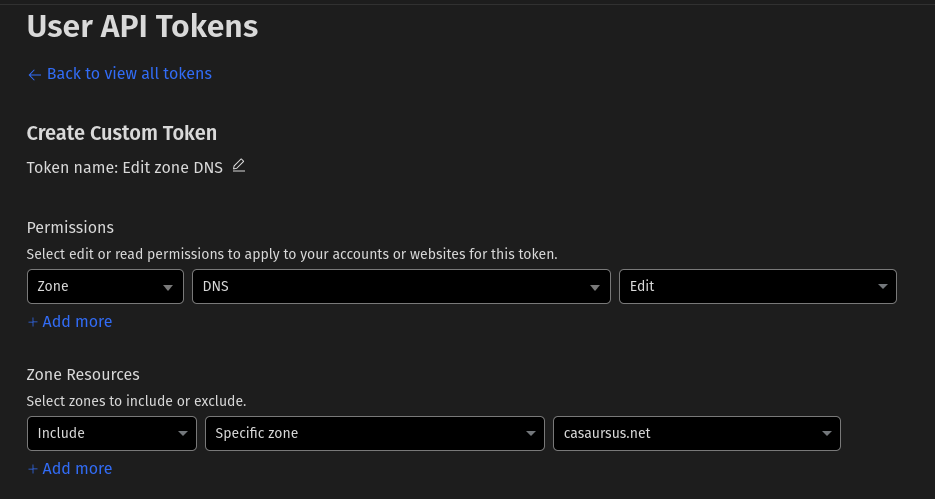
Go to User API Tokens and create a new token
In Edit zone DNS, click on Use Template and fill in the field Zone Resources with your data from the pull down.
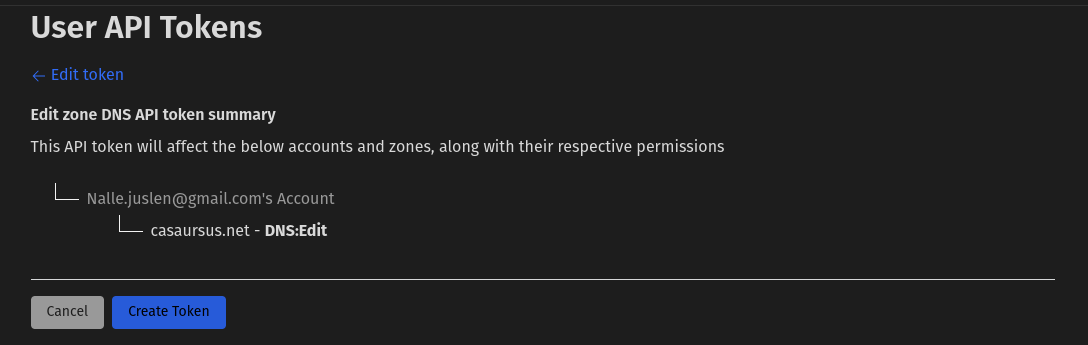
Hit Continue to summary to check, that you are about to do the thing you intended
Test the token by
curl -X GET "https://api.cloudflare.com/client/v4/user/tokens/verify" \
     -H "Authorization: Bearer <your togen go here>" \
     -H "Content-Type:application/json"
Look for: "message":"This API Token is valid and active"
Copy the token and save it for later use.
❗
Token will only appear once!
Set up pfSense
Go to Services → Dynamic DNS → Dynamic DNS Clients and add a Dynamic DNS Client using your Cloudflare Account ID and the Token just created.
- Username: the ID
- Password: the token and add it also to the Confirm.
Cloudflare proxy

If you prefer the extra safety from using the proxy, sow a Cloudflare IP instead of your IP, select the Enable Proxy.


